![]()
![]()
![]()
![]()
![]()
![]()
![]()
![]()
![]()
![]()
![]()
![]()
![]()

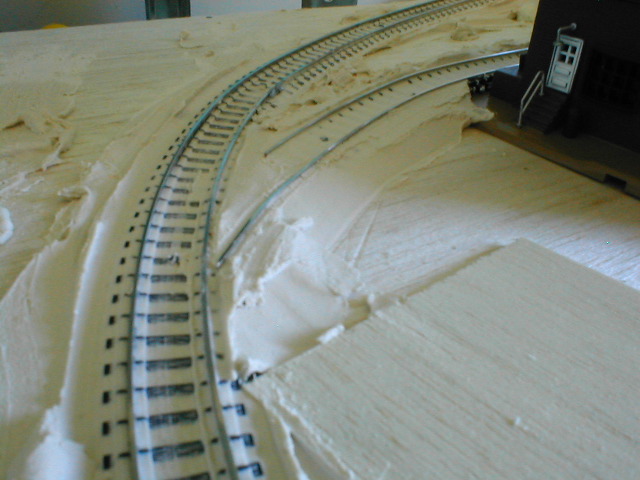
17th November. Expanding foam and Skim Coat used to fill in the gaps and provide
a snow base for the tracks.
I used Polyfilla Expanding Foam for the bulk of the mountain scene. However, I also used some Fuller "Great Stuff" (my local hardware didn't have anything else at the time) at the rear and to fill in a few gaps I missed with the Polyfilla. If you are intending to use these products, I'd have to recommend the Polyfilla product for model railway use. It sets with a rough surface which looks natural once painted. The Fuller product set with a very smooth surface. Given that neither product is actually intended for making model scenery, this is certainly not a criticism. I used the leftover to fill a crack in a wall and it certainly did an excellent job at that.
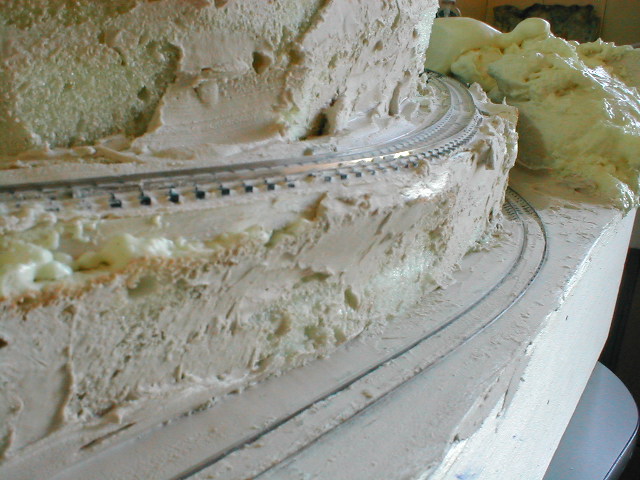
After cutting away the excess foam, I used Polyfilla Skim Coat to fill in a few gaps in the foam as well as to finish the surface of the road and also in place of ballast on the track. Ballast didn't seem necessary as the whole layout would be covered in "snow". The Skim Coat was put over the track and a piece of balsa with grooves for the rails was used to smooth it out and look like snow on the tracks (except for its colouring).
Skim Coat used to cover the track and resemble snow.
The result is shown above. I would normally have used plaster for this effect (which would've been the correct colour at least) but as I said, time was limited. Plaster is also considerably more messy when building in limited space. Much of the layout was built in the shop during business hours, so the ready-to-use products were very helpful.
17th November 2004 - movie released 18th November 2004.
Now that this was finished, the final painting
and installing the buildings, trees etc still needed to be done.
Up until this time, the train was regularly run to ensure no problems with the
track or the foam and Skim Coat used on it. Although a few problems surfaced,
they were minor and easily corrected.
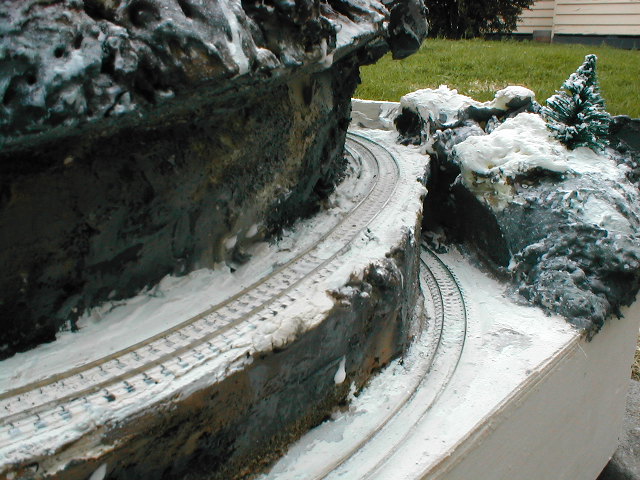
18th November 2004. Scenery completed - just in time.
The scenery was virtually completed on the 18th - the day of the movie's release. But then, as is often the case - DISASTER STRUCK!!!.
Page updated 16/10/2012