![]()
![]()
![]()
![]()
![]()
![]()
![]()
![]()
![]()
![]()
![]()
![]()
![]()
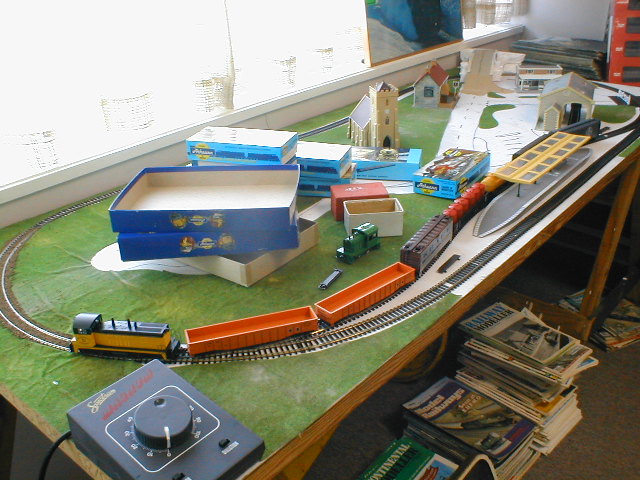
As you lay your track, it's not a bad idea to roll a carriage
along it to make sure there are no problems. When the trackwork is done, connect
your power pack or controller, place a train on the rails and run it to test the
track and see that the train can negotiate the track okay. If problems such a
derailments occur, it is best to try and fix them now rather than later.
![]()
Scenery
The next stage in building our layout is adding scenery. Since this is the quick and easy method of scenery construction, you'll be pleased to know that the grass in the pictures is in the form of a rolled mat with is simply placed on the board and glued down. I chose to cut the mat so that there was no grass under the track. This is easily done by placing it over the track and pressing it down to see the location of the rails. Cutting is then done with a craft or 'Stanley' knife. Roads were drawn onto the board, so the mat was cut away where the roads were to be placed too. Alternatively you can moisten the areas that you don't need grass and simply scrape it off.
At the far end, a road bridge over the railway was created (click on thumbnails below). The road itself was made from thick card. Some Plastruct girders were used to create the bridge and some old slot-car crash barriers were used to create the side railings (not the best choice, but they were lying around and otherwise of no use). Polystyrene foam sheets were used to create the 'hill' that the bridge is on. The road is far too steep here, but there wasn't the space for a more realistic grade (It was an idea I came up with later).
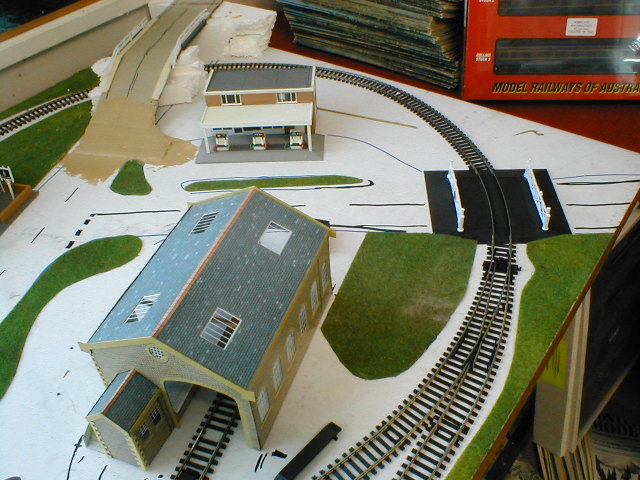
After the 'hill' was created, I simply covered the foam with the grass mat material. Brick card was used to represent retaining walls under the bridge.

![]()
After that relatively easy stage, the roads were painted. This is also very easy to do. Many beginners paint roads black. And it usually looks wrong. A dark grey looks better because roads are not normally a true black.
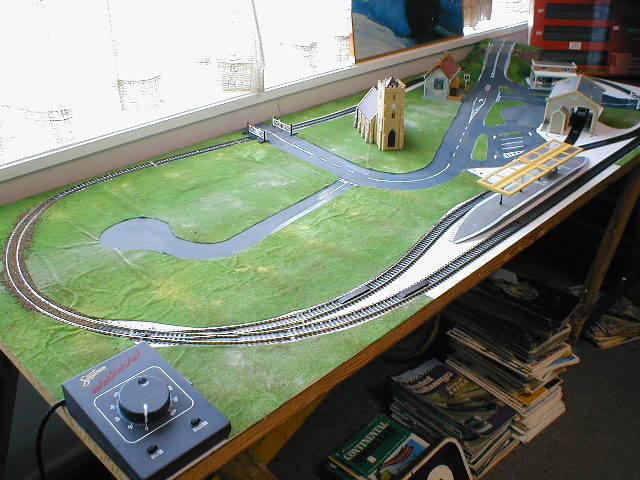
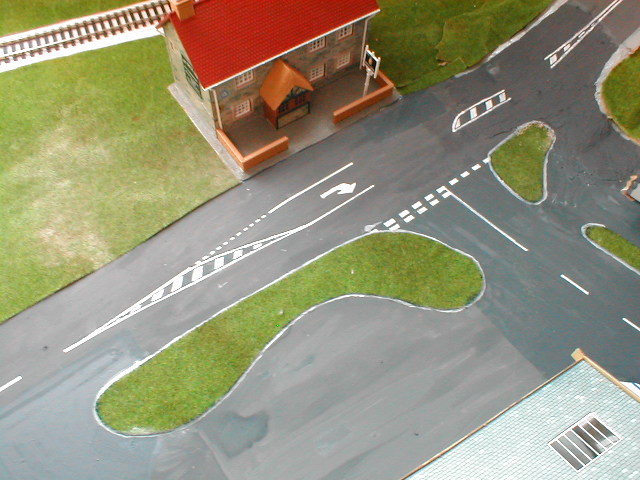
If you would like to have line markings on the
roads, then this is easily added too. As usual, there are many methods, but
those above were created by using twin strips of sticky tape (masking tape is
probably better) down the middle of the road and painting the lines over them.
After the paint dries (you can also use correction fluid as it dries much
faster) you carefully remove the tape and you should have nice clean lines left
on the road. If any white paint should have seeped under the tape, it is easy to
go over it with the same grey paint you used to paint the road.
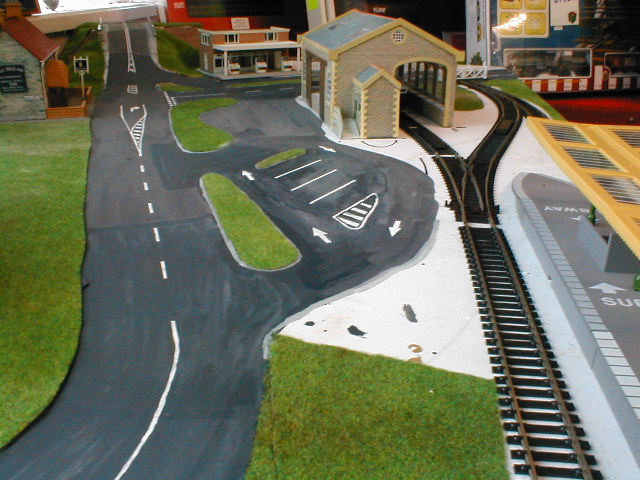
You can also purchase dry transfer line markings and Hobbies
Plus stocks these. The markings are European, but many of them are almost
universal, such as turning lane arrows, broken lines, parking spaces and
pedestrian crossings.
It always pays to study real line markings to get
an idea of the dimensions and the way they are laid out. Many people make the
broken centre lines far too short and close together. As a guide, the standard
broken centrelines on Australian roads are usually 100mms wide and 3000mm long,
separated by a 9000mm gap (this can vary from state to state
and sometimes within states). If you divide these dimensions by 87 you'll get the
correct HO scale dimensions (no, I didn't kneel down in the centre of the road
to measure some lines. I went to the VicRoads book shop and bought a traffic
engineering manual - since made available online).
However, the lines in these photos are not to scale, but still look 'right'.
This is partly because roads on model railways tend to be made slightly narrower
than scale. Unless you have space for a large layout, or model in N scale, a
road made the correct width tends to look too wide.
![]()
![]()
Page updated 16/10/2012