![]()
![]()
![]()
![]()
![]()
![]()
![]()
![]()
![]()
![]()
![]()
![]()
![]()
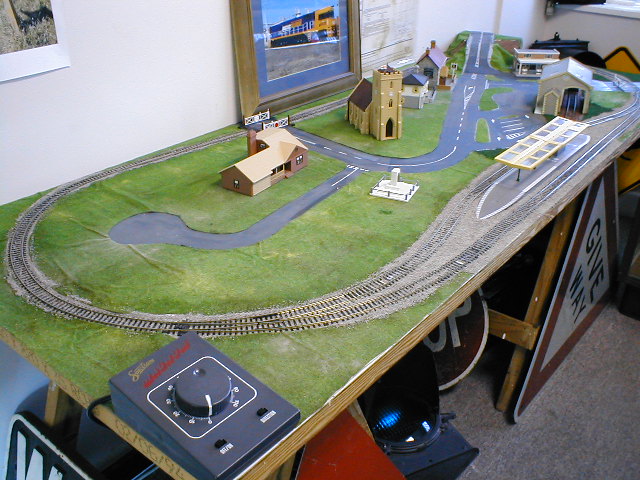
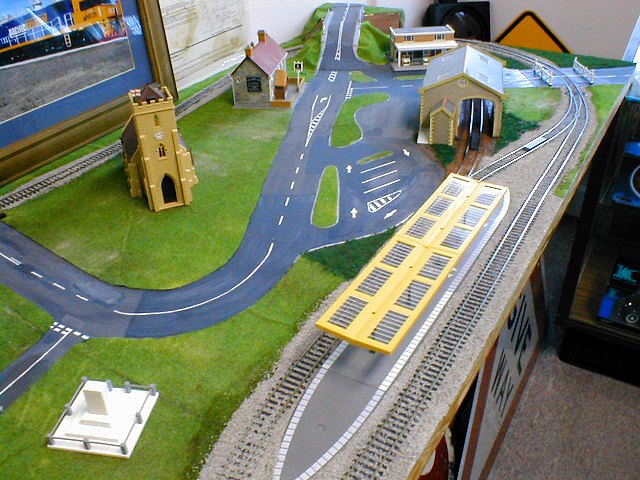
Ballast.
The only main step not done yet is ballasting the track. This could've been done earlier. In fact, if not for using the grass mat, I'd probably have ballasted the track before doing any other scenery. I also used some foam 'turf' material to add grass to areas not covered by the mat.
Ballasting the track improves appearance greatly, but it can be messy. It is also fiddly where points are concerned. Some people put glue down and then sprinkle the ballast over it. The problem with this method is that some of the ballast will not make contact with the glue and remain loose. Something that will be discovered as soon as you happen to sneeze near it or tip the layout to move it.
a.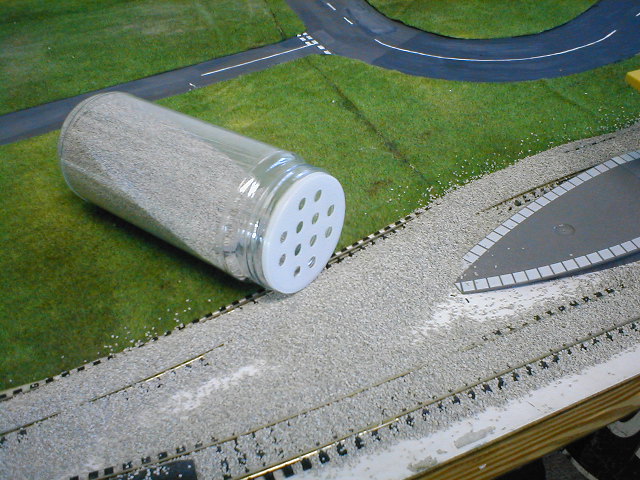 b.
b.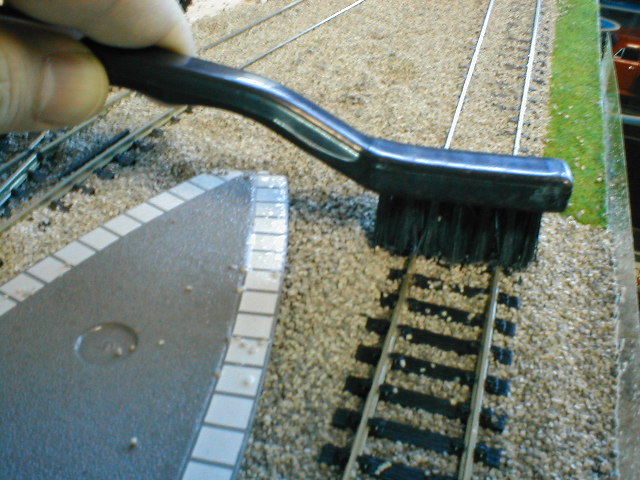 c.
c.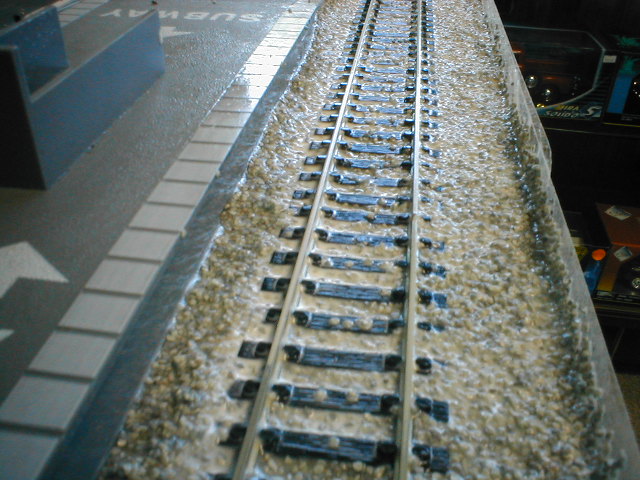
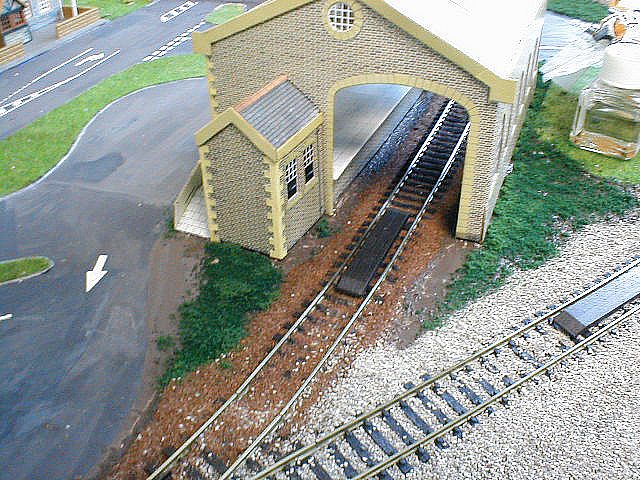
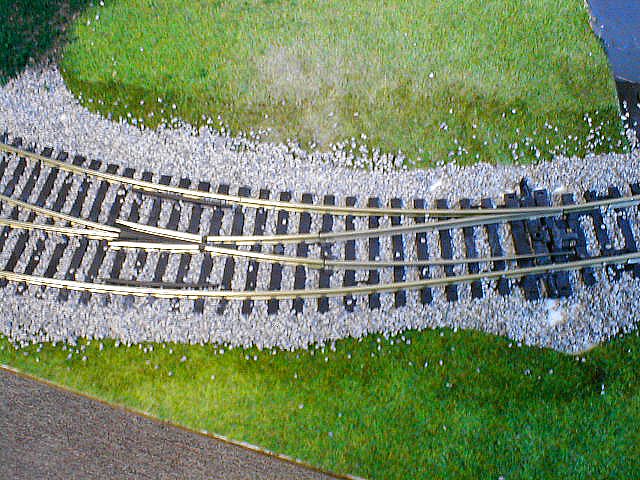
Ballast is available in many different shades of grey and brown and graded coarse, medium or fine. The method used for this layout (and most others I've built) is to spread the ballast over the track dry (click on photo 'a'). Then use a stiff bristled brush to shape the ballast and clear it from the rails (photo 'b'). The one shown here was from a cheap set of 3 including a brass and wire brush bought from the local hardware shop). With points, it is important to ensure the moving blades are not clogged with ballast. You can either leave these areas without ballast or carefully drop it between the sleepers by hand, checking the movement of the point blades as you go.
Next is the glue. Generally PVA wood glue is diluted 1:1 with water and a couple of drops of dishwashing liquid to help it soak in. You can also buy scenic glue ready mixed. The glue can be dropped on with either an eyedropper or a pin-hole in the plastic bottle (self-sealing when the glue dries). Another method is to spray the glue on with a trigger spray bottle. These can be purchased empty at the shop.
For this layout though, I tried another slightly different method I've often heard about. Using a trigger spray bottle, I sprayed the dry, loose ballast with what is strangely called 'wet water'. Although calling water 'wet' seems to be stating the obvious, the wet water method actually uses water with a few drops of dishwashing liquid in it. The idea behind this is that the water will soak into the dry ballast much easier than plain water alone. This is because of surface tension on the ballast. Once the ballast is wet right through, it will take the diluted glue much better.
Photo 'c' above shows the track with the glue
sprayed on. Don't worry about getting the glue on the rails. It can be removed
easily once it dries. Again, be very careful with points. If glue gets in the
moving parts, you can get problems. Being water based, should the blades lock
up, you'll only need to wet the area in order to get the glue to soften. I find
the dropper method is better with points. And I move the points regularly as the
glue dries to lessen the chances of the glue setting and locking the blades or
mechanism.
When the glue dries, a rail cleaning block can be used to remove the glue from
the rails. Run a train to find any ballast that may be sticking up too high. It
can be removed with a screwdriver or similar hard pointy object.
![]()
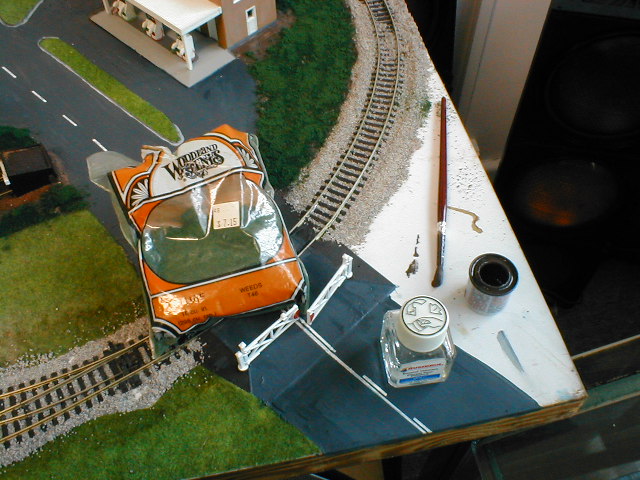
I mentioned before that I was going to add 'turf' to areas not covered by the grass mat. The turf or scatter materials are generally made from ground and dyed foam or from dyed fine sawdust. Although sawdust is the cheaper and older method, the use of ground foam has become more popular due to the more realistic appearance.
a.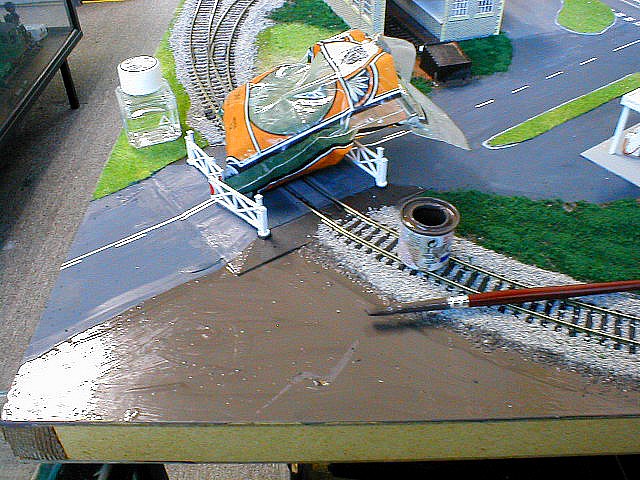 b.
b.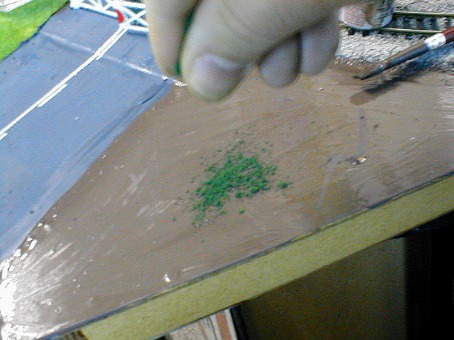 c.
c.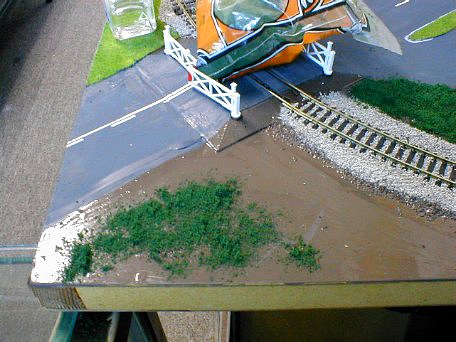 d.
d.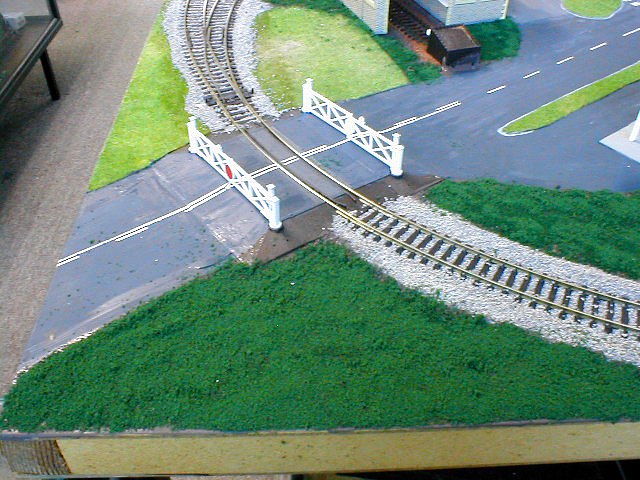
The method employed is virtually the same as for ballast. Using scenic glue. However, trying yet another method (one I wouldn't normally use, but a good way to learn is to experiment) on this layout I simply painted the areas I wanted to use (the board was already white as seen in the main photo above, so I didn't want that visible through the 'grass'). In photo 'a' (click to enlarge) I painted the area to be treated earth brown. Then, while the paint was still wet, I sprinkled the turf material over the paint. (photos 'b' & 'c'). The paint was effectively used as glue. The final appearance is shown in photo 'd'. As I said in the ballast section, the problem with this method is that some of the turf at the top didn't make contact with the wet paint and soon loose turf was found on the floor and other places. I later sprayed a diluted glue mix over the turf and this solved the problem. The layout was sold very soon after, so I didn't get photos of this.
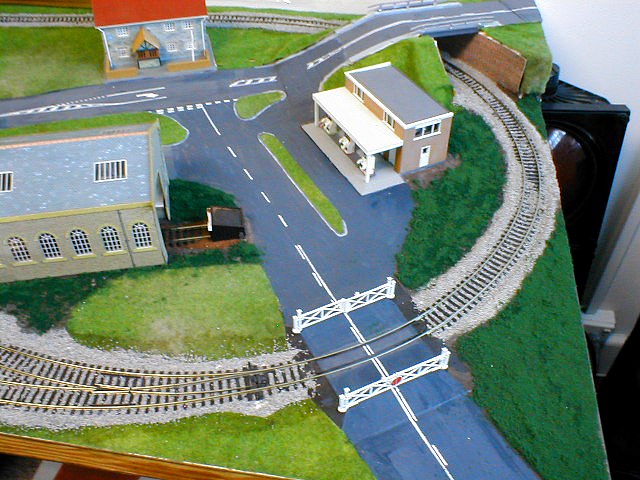
Although effectively completed, obviously the layout could be further improved by the addition of details such as trees, fences, cars, animals and of course, PEOPLE. This subject shall have to wait until I get to that stage on my next layout. Presently being planned. This will be a permanent layout in the shop and shall be used to demonstrate a variety of construction methods, as well as Digital Command Control.
![]()
Back to
Beginner's Guide.
![]()
Page updated
16/10/2012